How do I set up server-to-server integrations?
Are you looking to track conversions on a third-party server? No problem. Now, you’ll be able to store conversion data without using our pixel code.
Server-to-Server Tracking
Server-to-server integration enables you to keep track of user actions when you can’t place our pixel code on your site. Instead, when a user clicks on your Outbrain recommendation, our server will generate a unique click ID. If that same user then converts, the unique click ID will need to be matched back to the user through your server. Your server should post that same unique ID back to the Outbrain server so our dashboard can show the conversion.
Note: You will need to have access to your own server in order to implement server-to-server integration.
Let’s walk through the integration process:
Create a Unique Event Name
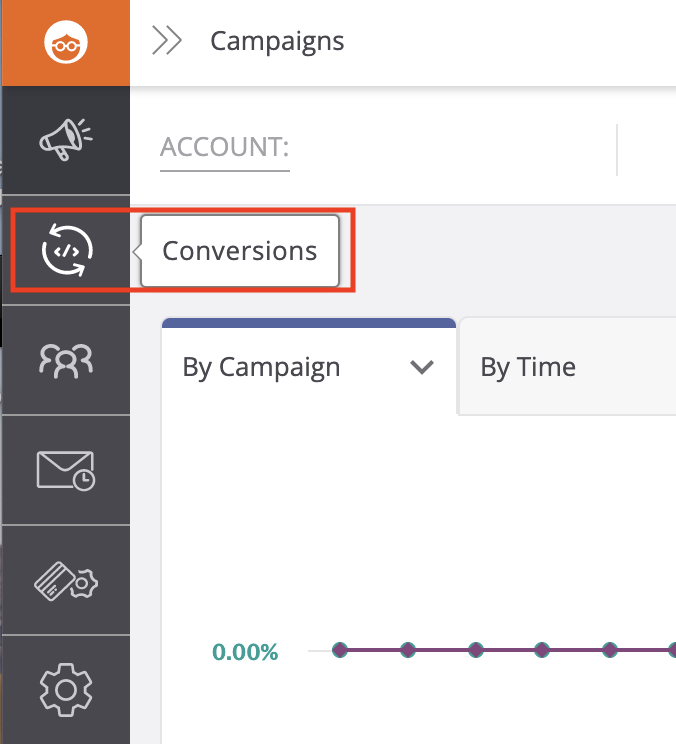
Click on the “Pixels” tab and select “Conversions.”
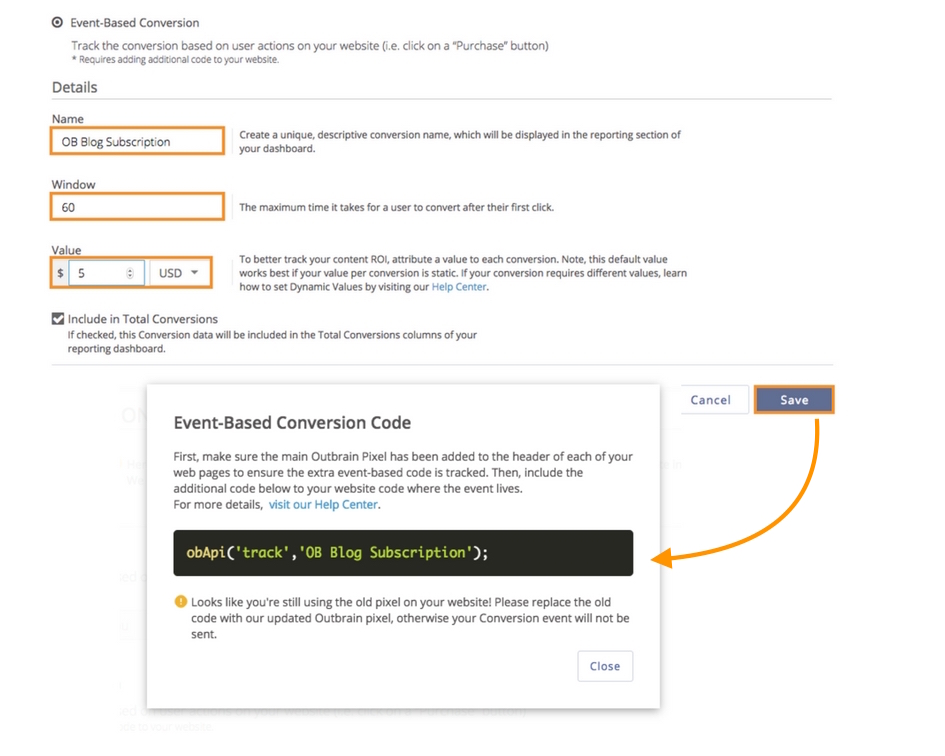
Click “Add Conversion” to open up the “Create Conversion” screen. Select “Event-Based Conversion” (not “URL-Based Conversion”), then create a unique event “Name,” set a “Window” (the time it takes from click to conversion) and “Value” (such as average order value), and then click “Save.”
A snippet of code will pop up, prompting you to install. To set up either server-to-server integration or mobile app tracking, you are not required to install this code on your site.
If you’re having trouble setting up the event-based conversion, click here.
Add a Click Parameter to Your Campaign’s Tracking Code
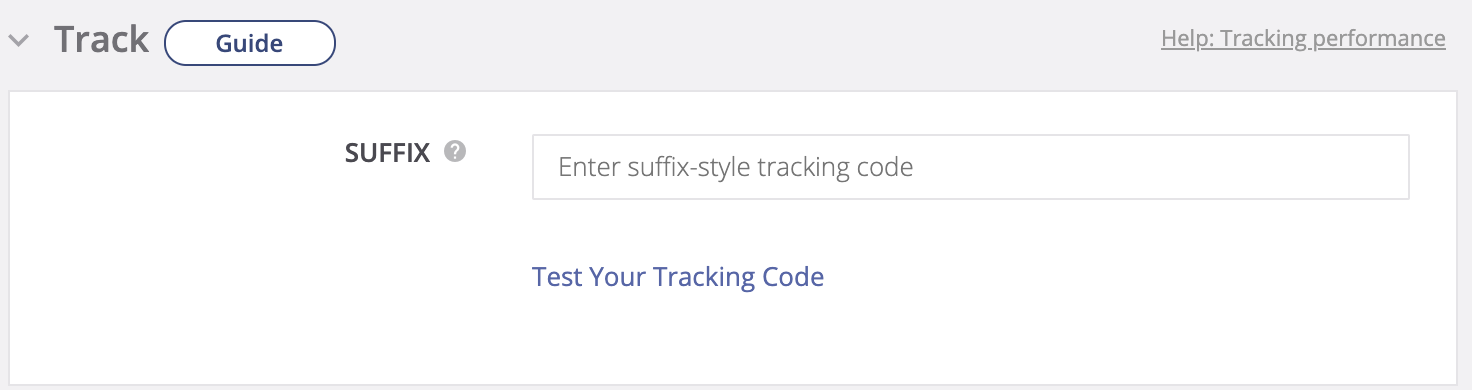
You can access the targeting section when setting up a new campaign or by clicking the pencil icon next to an existing campaign. Scroll down to the “Track” box and add the following parameter:
OutbrainClickId={{ob_click_id}}
Make sure to leave “{{ob_click_id}}” as is, since this parameter is dynamic and will populate the user’s unique click ID.
On every click on your content, we will append a unique click ID to the Ad URL as a query string parameter. Your server needs to store this unique ID with matching user Id on your system to use it later when the user converts.
Implement the Postback URL
Once the above steps have been completed, your server needs to report back the click ID when the conversion event takes place. You’ll need to automatically generate a valid postback URL with the associated click ID. You can define the postback URL using the following template:
The “UNIQUE_CLICK_ID_VALUE” placeholder needs to be replaced with the matching user’s actual click ID value, which you stored in the previous step.
Also, the “EVENT_BASED_CONVERSION_NAME” placeholder needs to be updated to your actual event-based conversion name. Make sure to leave the key “ob_click_id” and “name” as is, since those are the reserved names. The request for the pixel should be a GET request.
Now, every time a user clicks on a recommendation in your campaign, we will add the click ID to your landing page URL. When a conversion occurs, your server will report back this information, and you will see it reflected in the dashboard.
Optional Values and their formats that can be added to your Postback URL:
- &orderId=ORDER_ID
- &orderValue=ORDER_VALUE
- ¤cy=CURRENCY
- ×tamp=
With the supported date formats:
MM/dd/yyyy h:mm:ss a
MM/dd/yyyy HH:mm:ss
yyyy-MM-dd HH:mm:ss
yyyy-MM-ddTHH:mm:ss
yyyy-MM-dd HH:mm:ssZ
yyyy-MM-ddTHH:mm:ssZ
yyyy-MM-dd HH:mm:ss zzzz
yyyy-MM-ddTHH:mm:ss zzzz
For example, if you wanted to track the conversion value and currency, your Postback URL would look something like this:
Like with “EVENT_BASED_CONVERSION_NAME”, “ORDER_VALUE” and “CURRENCY” are placeholder values that you would need to fill in with your own information.
Please note that as of September 2020, we have slightly changed our pixel format (reflected above) but, all existing S2S integrations will not be impacted and no updates are required.
Important to Note
- Just like the Outbrain Pixel, server-to-server integration does not include all conversions. It will only include conversions that came from Outbrain.
- Make sure to leave {{ob_click_id}} as is, since this parameter is dynamic and will populate the user’s unique click ID.
- Due to the fact that server-to-server integrations are reliant on an external system, we are unable to troubleshoot issues that may arise from their implementation or investigate any conversion discrepancies.
- It is recommended to target Android or iOS devices separately per campaign. To set up this targeting, please contact our Support team.
- If you need assistance troubleshooting, please use one of the implementation guides above or contact your mobile partner account manager.
- Event names are case-sensitive.
If you have any questions along the way, don’t hesitate to reach out to our DIY Customer Success team.