Welcome to Outbrain Amplify! We’re happy to help you get started on Outbrain and want to make it easy for you to begin your first campaign. Below, we have broken down each step with a few quick tips for you to follow along while creating your first Outbrain campaign.
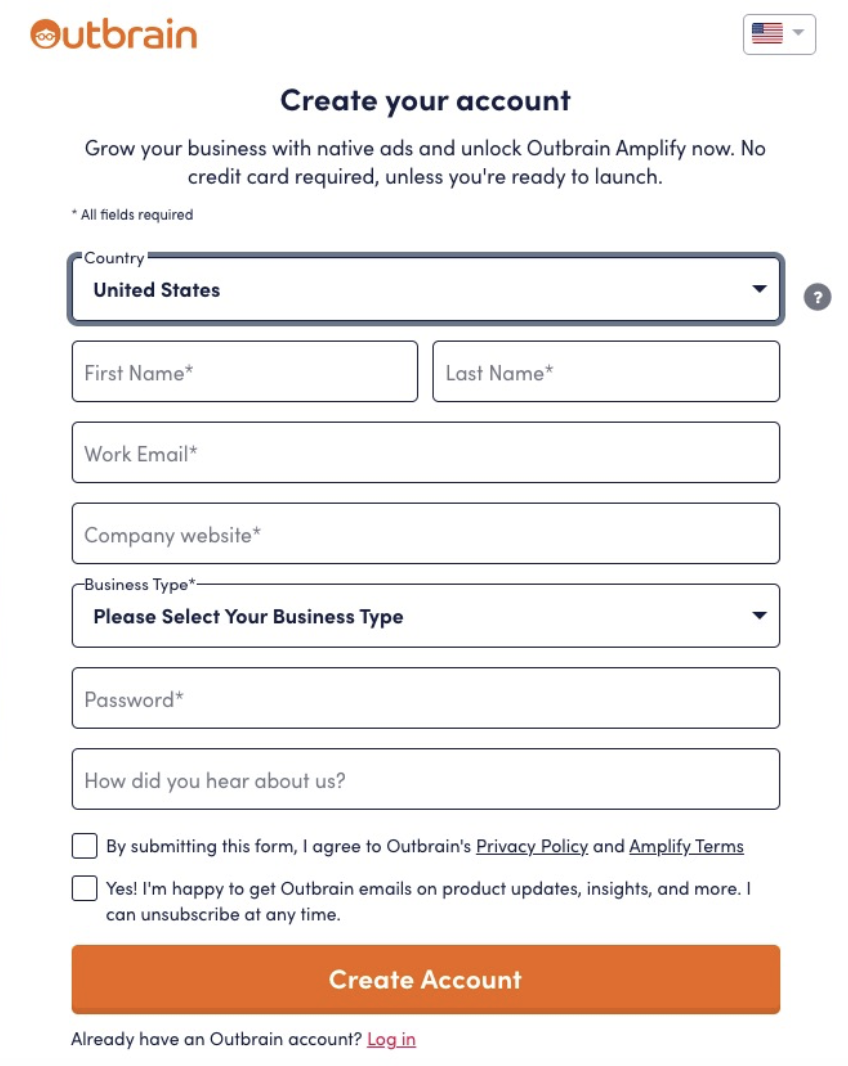
1. Create your Outbrain account
Head to the registration page to select your country, enter your email address, and create a password. Be sure to choose the country that matches your billing address, as you will not be able to submit your credit card information unless it matches the country on this page.
2. Retrieve and place your Outbrain pixel
Please install the Outbrain tracking pixel right after signing up to ensure you are able to optimize your campaigns and track conversions properly.
You will see “Conversions” and “Audiences” tabs in the left-hand corner of the Outbrain dashboard: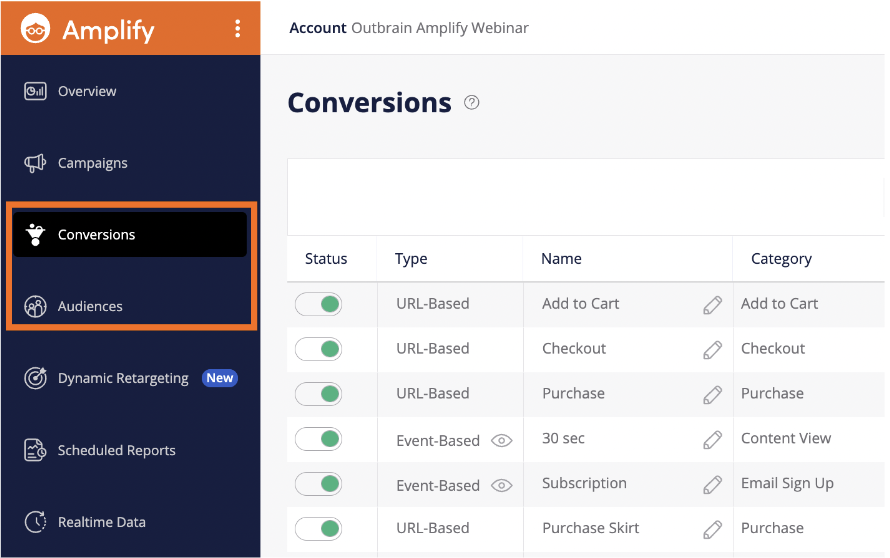
The Outbrain pixel can be retrieved from either tab, and serves two purposes:
- Tracking Conversions
- Collecting Custom Audience segments for targeting
You can implement your pixel directly on your website, or through various platforms, such as Google Tag Manager, Shopify, or track conversions through a third-party server (server-2-server).
3. Set up your first campaign
For a step-by-step tutorial on how to create your first standard campaign, check out the below video. Please note, there are labeled chapters for each section (e.g., Campaign Objective, Budget & Budget Types) to help guide you if there are specific topics you’d like to review.
1. Select your Campaign Objective
This will help our system to guide you toward the best strategies and features for your campaign. There are four objectives you can select from:
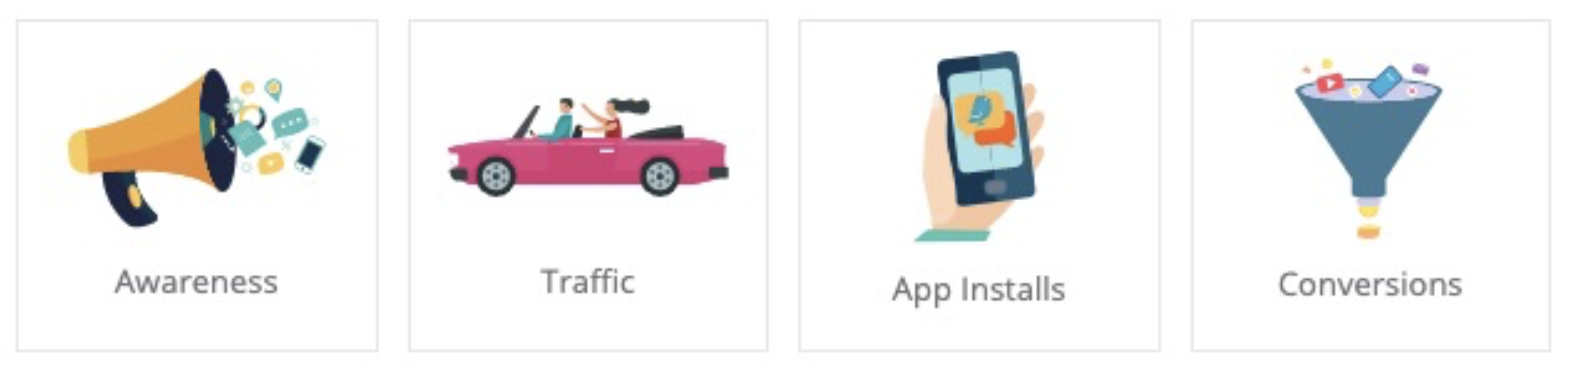
- Awareness: Increase brand awareness by maximizing views and clicks of your content.
- Traffic: Drive traffic to your website by maximizing clicks from audiences likely to engage with your content. Read more about our Engagement Bid Strategy here.
- App Installs: Increase app installs by maximizing clicks of your content.
- Conversions: Drive conversions by optimizing conversions from your target audience.
A Campaign Objective should be selected for all campaigns, to ensure that you have the correct strategy enabled for your campaign goal, and will prompt you to optimize towards the most relevant KPIs.
2. Choose your Creative Format
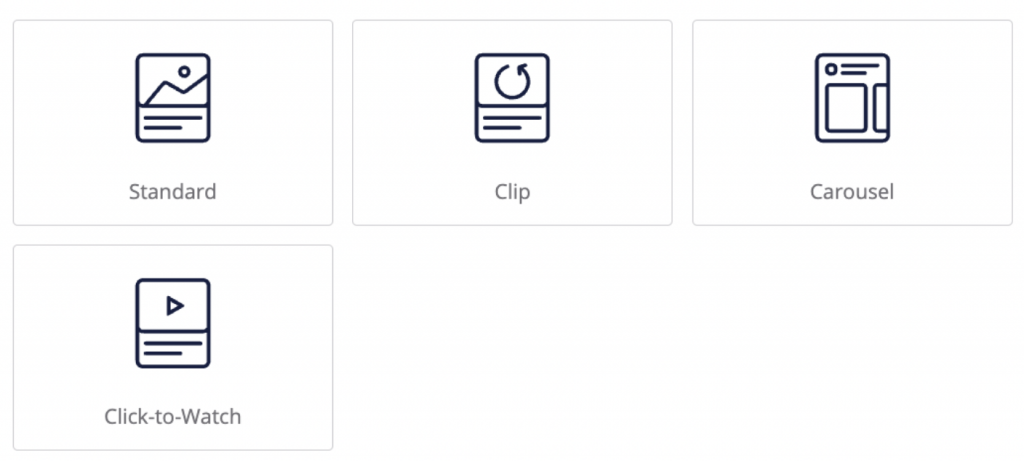
To learn more about each format and which one to select based on your marketing objectives, please refer to this article.
3. Select your Platform
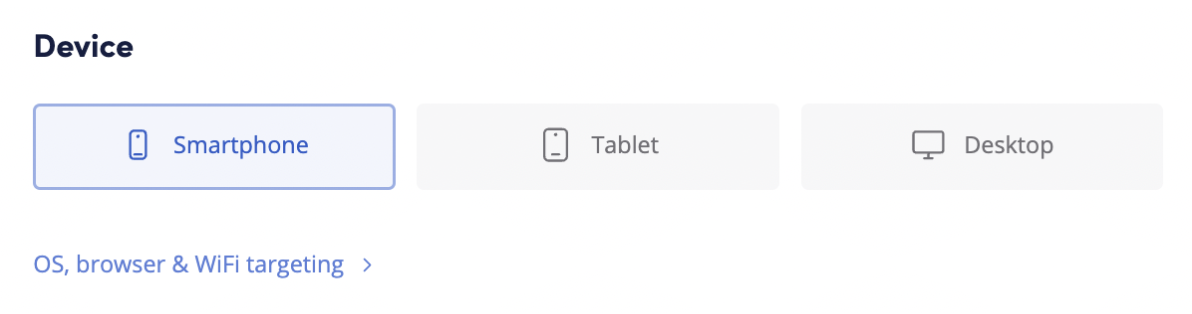
We recommend selecting one device per campaign to see which platform will drive the best engagement.
4. Define your Budget & Bidding Strategy
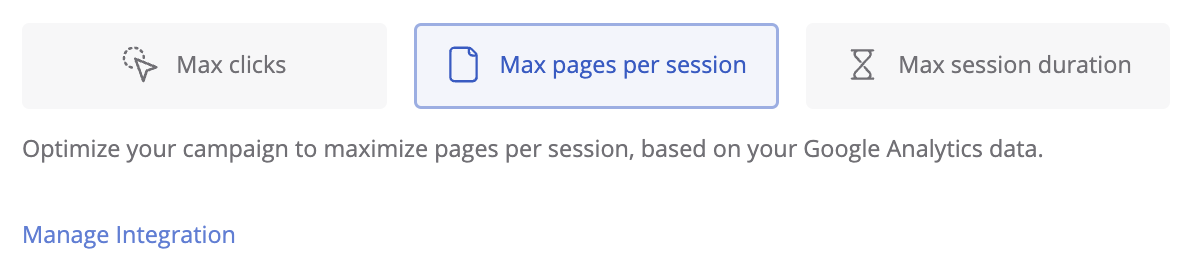
Choose the bidding strategy based on your campaign objective. If you’re looking to optimize for conversions (Purchases, Lead generation, etc), opt for Conversion Bid Strategy (CBS) and make sure you have installed our pixel.

And if you cannot install our pixel or you are using Google Analytics and you’re looking to optimize for site engagement, select Engagement Bid Strategy (EBS).
The budget can be set to whatever amount you’d like (with a minimum of $20 per day). We recommend starting with a daily budget of $100 – $150 in order to gather enough data to analyze and optimize your campaign.
For CPC, we recommend starting with a CPC between $0.65 and $0.85. Once the campaign is spending well, you’ll be able to lower the value by a few cents and maximize your budget. To maximize results, we recommend removing any bid limitations when running on either Target CPA or Target ROAS Conversion Bid strategy.
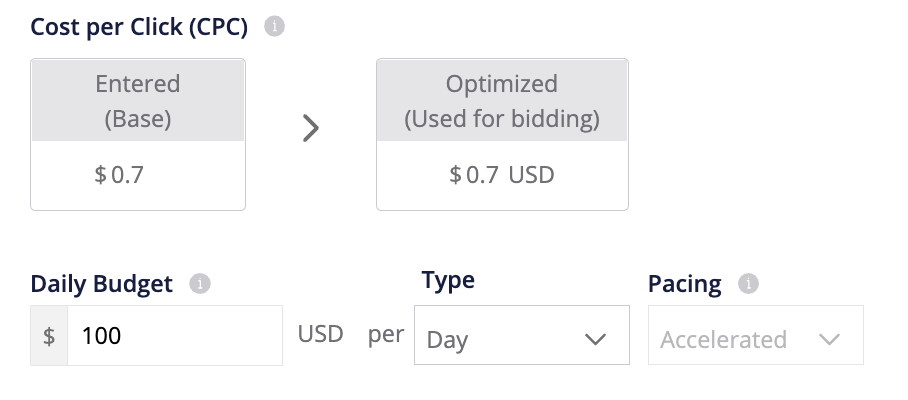
Keep in mind: Outbrain runs on a Cost-Per-Click (CPC) pricing model, which means you will be charged for the number of clicks your campaign receives based on the CPC you set.
5. Set Campaign Duration
Campaign scheduling allows you to choose to run the campaign on a continuous basis or between specific dates. Setting the campaign to run continuously means it will remain active until you choose to disable it.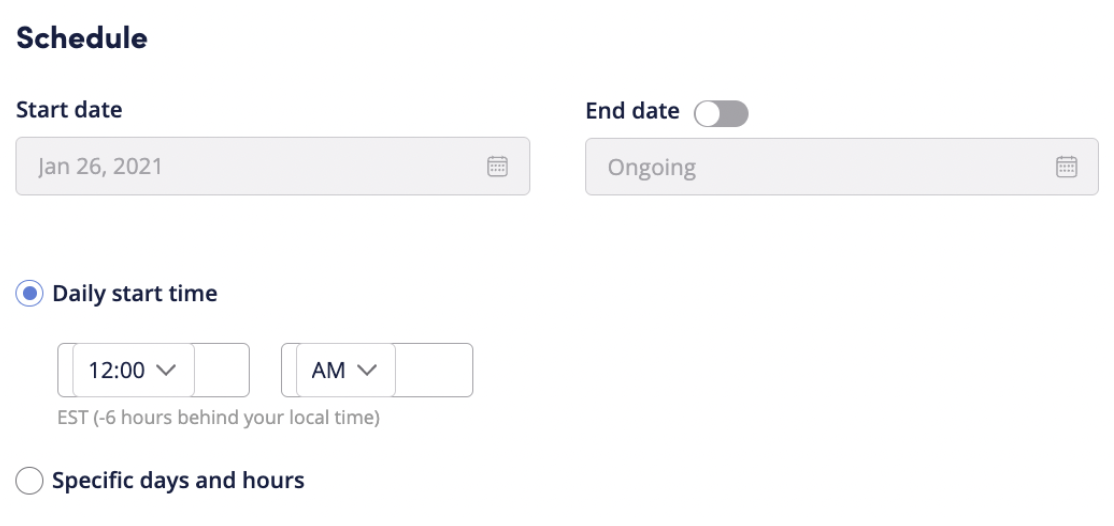
If you are aiming to receive conversions, we recommend setting the campaign for at least a month or more in order to gain enough traction.
6. Tailor your Targeting
Our algorithms will do most of the heavy lifting, but you can tailor the campaign settings to further target your desired audience.
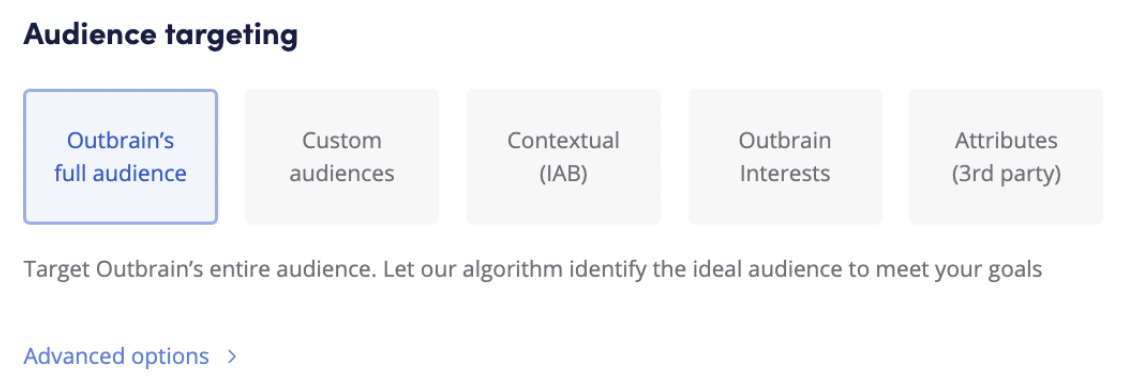
You can learn more about all our targeting options here.
7. Set up Tracking (optional)
You are able to enter a tracking code to monitor your traffic in your Analytics platform. This is not mandatory, but it’s a great way to organize your data and see what content is driving the best engagement.
Once you’re done with campaign setup, our Reach Estimator will provide you with a 30-day potential reach and allow you to make smarter targeting decisions.
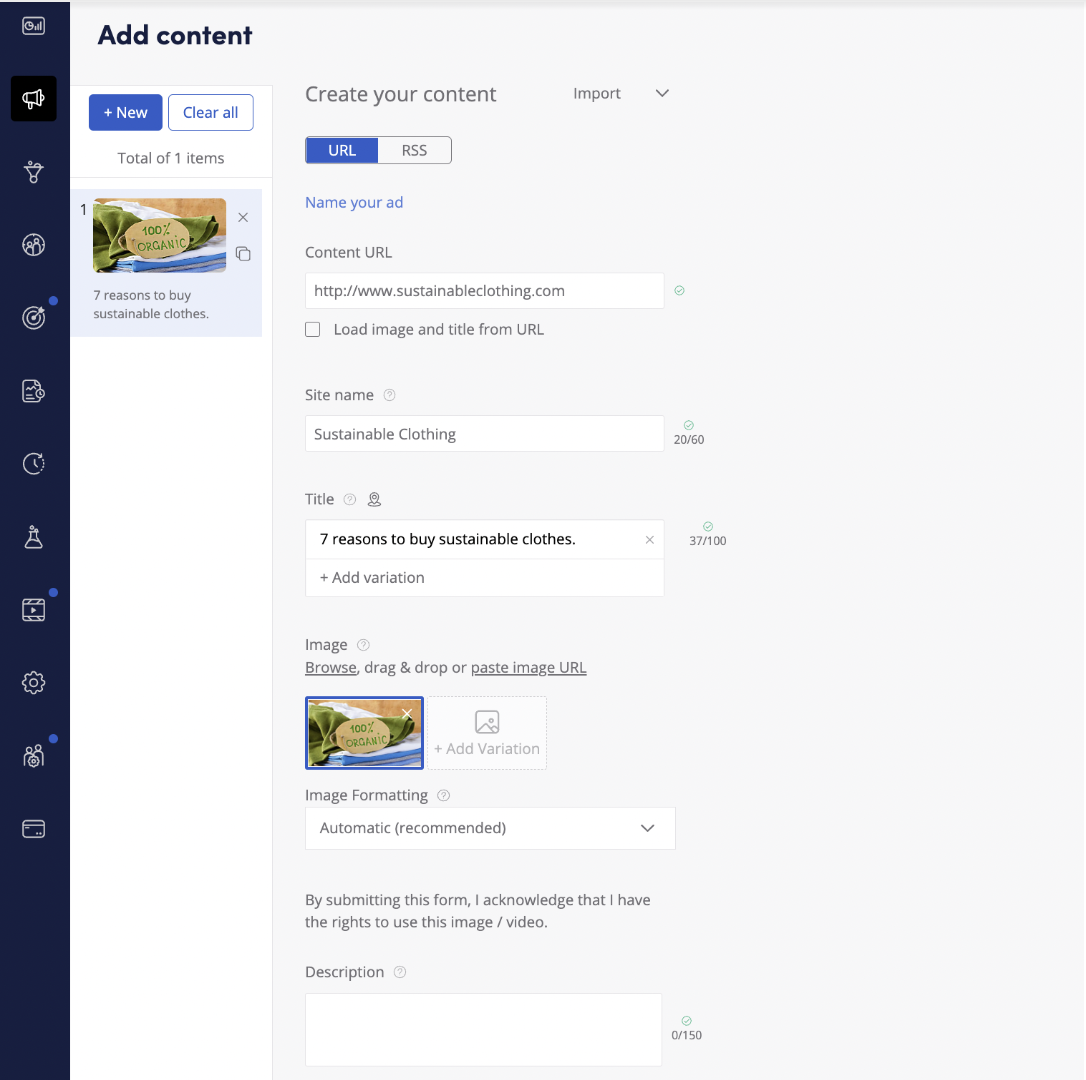
4. Submit your content
Next, add in your content. We recommend adding 3 title and image variations per URL, helping the system locate the top performer and drive attention to a specific page.
Click here for more information and tips on adding content and check out this Help Center article for our content best practices!
Please note: If you receive an error when inputting the content, please make sure our crawlers are not blocked and then re-submit.
Once you’ve launched your campaign, your content will now undergo a 1-3business day review period, making sure that it abides by our Advertising Guidelines.
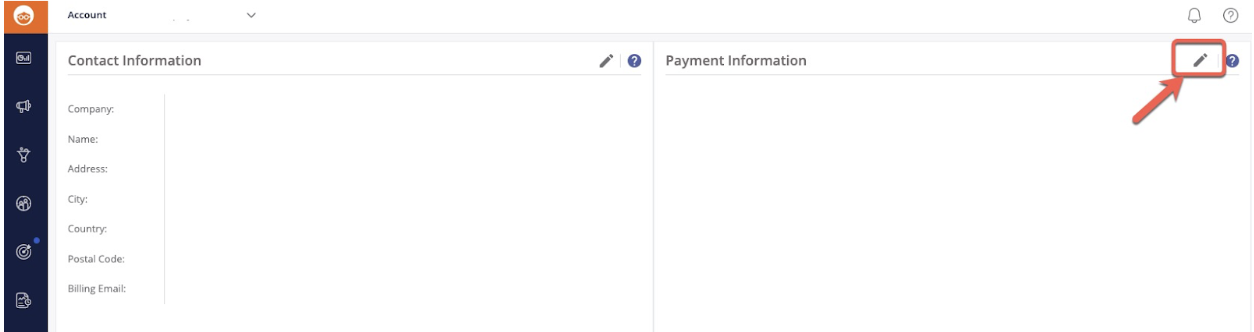
5. Add your payment details
The last step is to insert your payment details. Simply enter the payments tab on your dashboard, and click on the little pencil next to the ‘Payment Method’ headline:
We currently only accept MasterCard, Visa, Discover, and American Express credit cards from these countries.
Have any questions or need some tips? Reach out to our DIY Customer Success team! We look forward to seeing your content on the network!