So, you’re ready to grow your revenue diversification efforts with Outbrain’s Conversion Campaigns? Great! With Conversion Campaigns, you get a dedicated card right in your Smartfeed that drives audiences to the point of conversion and allows you to re-target non-converted users.
In order to accurately track the actions your customers take after landing on a page, you’ll need to implement conversion pixels.
Follow the instructions below before setting up your first Conversion Campaign and begin tracking conversions!
Pixel Implementation
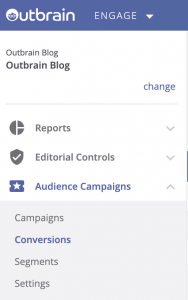
First, click the “Conversions” button under Audience Campaigns in the sidebar on the left side of the Dashboard.
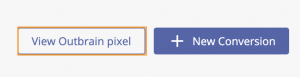
Once on the Conversions page, select “View Outbrain Pixel” in the upper right corner, and click the code to copy it to your Clipboard.
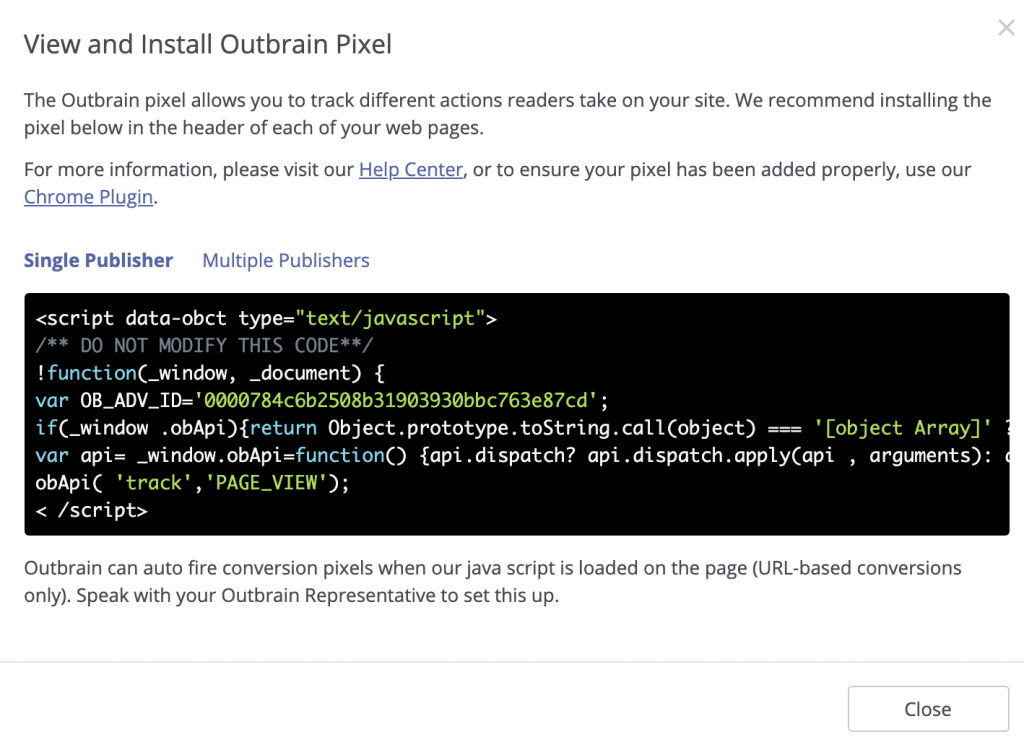
Next, paste the Outbrain Pixel in the header of every page of your site. Test it using our pixel tracker extension, and make sure it reads as “Active” back in your Conversions tab.
You’ll then need to determine what kind of conversion you would like to track: URL-Based Conversions or Event-Based Conversions.When the Outbrain javascript is loaded on the page, Outbrain can auto fire pixels on your behalf for URL conversions.
If you’d like to implement the pixels yourself or if you opt for Event-Based Conversions, follow the steps below , and note that they require slightly different set-ups.
URL-Based Conversions
URL-Based Conversions record when a user lands on a specific URL or group of URLs. Upon installing our Outbrain pixel into the headers of your site pages, follow the below steps.
Begin by clicking “New Conversion” to open up the “Create Conversion” screen.
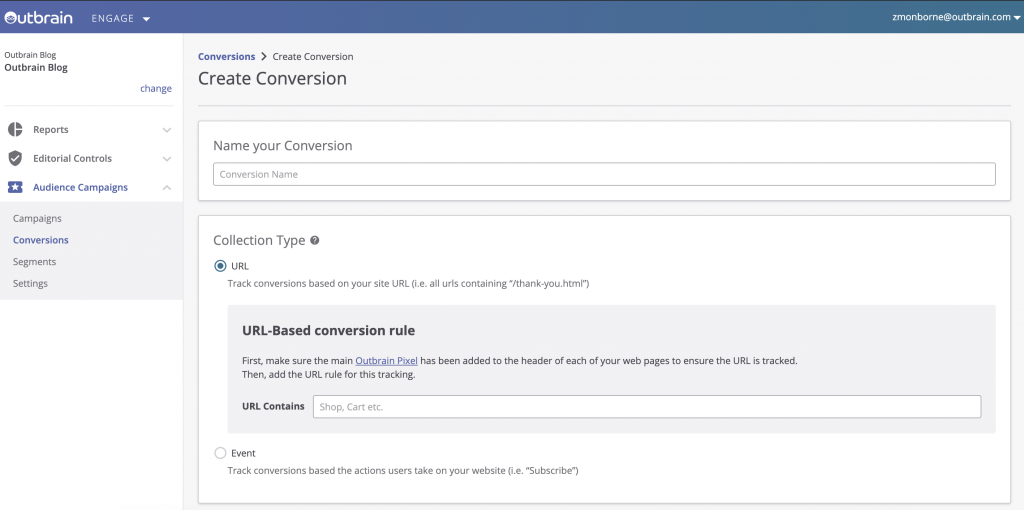
First, provide a name for your conversion that is easily distinguishable (i.e. “Newsletter Sign-Ups”).
Next, select URL under “Collection Type” and fill in your URL conversion rule. This records when a user lands on a URL containing predefined words (i.e. all URLs containing “newsletter.html”).
Under “Window,” define the max time frame between a click on a recommendation and the conversion that we can attribute towards this click. Note the default value is 60 days and the max value is 60 days. We recommend a window range of between 30 and 60 days.
Lastly, be sure to click “Save.”
The Tracking Status will remain as “Waiting for Pixel” until the action has been tested or a conversion has occurred. You can check that the pixel fires properly by using our Pixel Tracker.
Quick Tips
- Omit HTTP(S) when adding your URL to prevent tracking issues
- To track all page views, create a conversion with “URL Equals”: mysite.com
- To track views for specific pages, create a conversion with “URL Contains”: /product-page.
Event-Based Conversions
Event-Based conversions will track a specific action that the reader takes on your site.
Event-based conversions require an extra step and knowledge of HTML. Alterations made to and implementation of the Event-Based conversion pixel code cannot be troubleshot by our Support team. Only use this conversion style if you or someone on your team has the know-how.
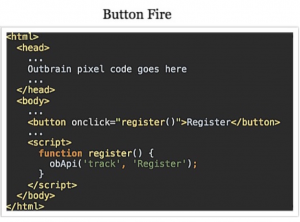
The extra piece of code must be installed wherever the event you wish to record lives (i.e. on the “sign up” button,” an “add to cart” button,” etc).
Follow the same instructions as above until you get to “Collection Type,” where you will select “Event.”
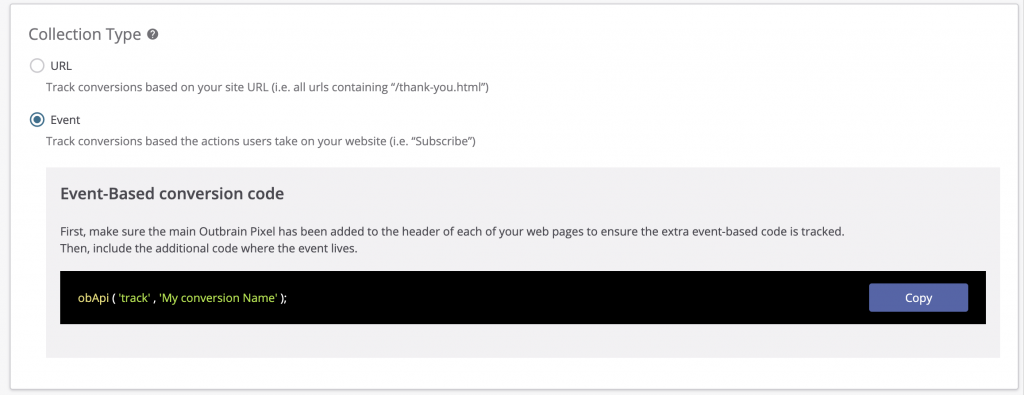
A snippet of code will be provided. Click “Copy” then paste this additional code where the event lives. Note: “My Conversion Name” is a placeholder, which will change dynamically according to the conversion name.
We provide two versions of the code snippet. Select the snippet that best works with your website implementation (directly inside a script tag or a tag manager system: Google Tag Manager instructions here).
Here’s an example of how the event code might be placed.
If your conversion requires different values depending on the action taken, check out our helpful guide on how to create dynamic values. At any time, you can view the code snippet by clicking on the eyeball icon next to the conversion type.
Tracking conversions will allow you to see when a user converts after clicking on one of your ads. If you’ve already set this up, but are struggling to receive any conversions, some of the pointers in this guide may help. If you believe there may even be something wrong with your pixel implementation, you can always reach out to us for support!