
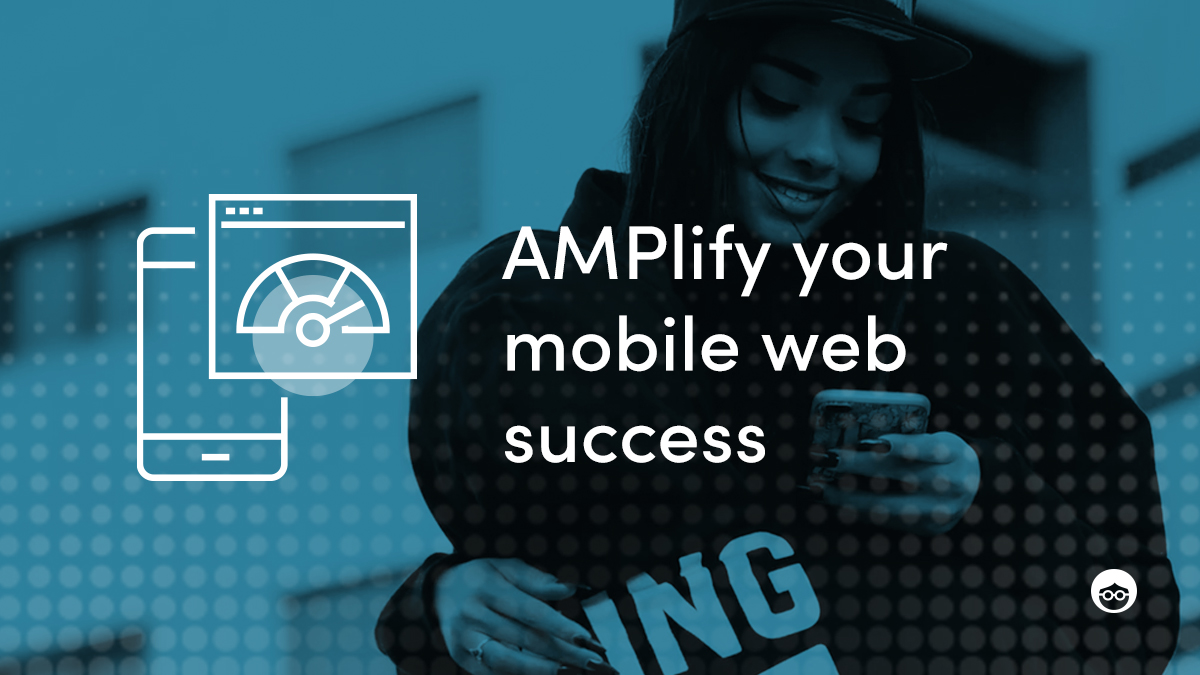
How to Implement AMP on WordPress (& How We Did It)

Tl;dr
- Choose the right WP plugin
- Replace HTML tags with AMP tags
- Balance functionality and performance
- Customize the plugin to fit your needs
- Create a (local?) development environment
- Adopt design to fit AMP
- Add subscribe functionality
- Implement GDPR and CCPA
- Validate your AMP pages
What is AMP?
AMP is the Accelerated Mobile Pages (AMP) project. It arose out of a need to make the mobile content ecosystem more effective and enjoyable for everyone. That includes publishers, advertisers, users, and everyone in between.
AMP is an open-source project, meaning that anyone can contribute and claim a stake in making the mobile web faster and easier to navigate. The purpose of AMP is to speed up load times of mobile web pages to almost instantaneous, and that means reduced bounce rates and less page abandonment. And that’s good news for mobile website owners, content creators and advertisers.
Why We Went All-Out AMP
At Outbrain, we knew that creating AMP pages was an inevitable part of keeping us relevant on the web, and that it was going to be critical for our SEO initiatives. So, as a Dev specialist in the Growth Marketing team, I set out to investigate what AMP means, how we could use it to our benefit, and the steps it takes to implement AMP on our site. I ran into some challenges along the way, but all were overcome. Here’s the story of how I managed AMP implementation. Hope you enjoy!
How to Implement AMP on WordPress
1. Choose the right WP plugin
The power of WordPress comes from its plugins. There is a plugin for almost everything you can think of. The AMP Project provides a basic plugin with some configurations, but I needed more flexibility.
💡 My tip: I found the flexibility I needed in another plugin called AMP for WP – Accelerated Mobile Pages.
2. Replace HTML tags with AMP tags
Every page we wanted to “AMP” needed to have another version of the HTML page, with the “<amp-…>” elements replacing some of the current HTML elements. For example <img> would be replaced with <amp-img>.
This Documentation contains every component, tag, and functionality that is required.
💡 My tip: For best performance (low weight & loading time), avoid JS as much as possible and keep it simple with HTML and CSS.
3. Balance functionality and performance
The toughest part, in my opinion, is understanding that an AMP page might not include all the great stuff we have on our regular page, like complex animations that we built from scratch – although the documentation presents some cool alternatives like <amp-accordion> and <amp-lightbox>.
💡 My tip: Actually, I was pleasantly surprised by the wide variety of components presented by AMP, and I’m sure that the Framework will grow in the near future.
4. Customize the plugin to fit your needs
When I began working with the plugin, things weren’t so clear. The API had missing information, which either I found online or by deep diving into their code to understand how some of the functions work.
💡 My tip: Overall, you can use functions that the plugin provides alongside basic AMP functionalities from the original AMP Project. You can read more about these plugins here:
AMP Project and AMP for WP.
5. Create a local development environment
As with most development projects, we used a separate environment for the AMP project, mostly a local one.
Web applications, like websites, get a default URL, which is https://127.0.0.1:80 (if we didn’t state otherwise). No matter how we manipulate the URL on a local device, it is still local and not on the world wide web.
💡 My tip: When I finished working on the AMP pages, the first thing I wanted to do is validate the pages (more about that in step 9). However, the validating tool can’t crawl local pages so I needed to push my pages to a test server environment. The test server isn’t editable, meaning I write code locally only.
6. Adopt design to fit AMP
Since we are building the AMP pages almost from scratch, and changing the HTML, another challenge was adapting the CSS styles so they would match the regular, “non-AMP” pages’ design.
💡 My tip: Yes, as you can imagine, this process might include tradeoffs…and that’s ok.
7. Add subscribe functionality
The subscription flow for our website includes a form that lets you enter your email, and once you submit, you receive either a “Success!” or “Error” message. This is mostly done with Javascript, yet won’t work with AMP. Luckily, AMP has alternatives.
💡 My tip: We used ‘amp-form’ for presenting a form and ‘post submit’ messages like success and error. The submit process must include Recaptcha v3, which we implemented on our side, though there is an ‘amp-Recaptcha’ option.
8. Implement GDPR and CCPA
Another challenge was data privacy laws in Europe and California. We needed to provide a consent popup that explains what our tracking pixels will do if they consent to them, and our tracking pixels can only be allowed to fire for users who provide consent.
💡 My tip: We use OneTrust to manage our consent procedures. However, it doesn’t support AMP, and JS is not a good option, so we were in a bind. The good news is that AMP has a solution. The “less-good” news is that it needs to be created from scratch, including controlling each pixel separately.
9. Validate your AMP pages
Congratulations! Development is done, everyone is happy with the look and function, so it’s time to push to production, right?
Not really! While everything seems great, we want to make sure we’ve met AMP standards and we do this by validating our pages.
💡 My tip: A tool I recommended for validating pages is https://validator.ampproject.org/ It lets you enter a URL or copy & paste your HTML code. Ninety-nine percent of the time, you’ll get errors and warnings, but don’t panic! Once you take a closer look, you’ll see that they are really understandable and most of them are relatively easy to fix.
Another way to validate pages is by using the search console. On the left menu, you will find the “AMP” tab. There you can see the errors just like in the validator mentioned above, and you can also send for validation after your fixes.
Now, it’s really time for congratulations! You’ve successfully implemented AMP pages for WordPress and can expect amazing performance of your mobile web pages from now on.