Your campaigns are raking in clicks faster than you can count them, but you aren’t able to accurately track the actions your customers take after landing on your site. No worries — you can start tracking conversion actions immediately using Outbrain’s pixel.
Pixel Installation
- Go to the Conversions tab (left-hand side rail). On this page, you’ll see the “Outbrain Pixel” button in the top right-hand corner. Click the button.
- A window will appear with instructions for viewing and installing the pixel. Hover over the black box and you’ll see the option to copy the pixel code to your clipboard. You can do so with a simple click.
- Paste the pixel code into the header of your website. This will then ensure you can track your user behavior across your entire site.
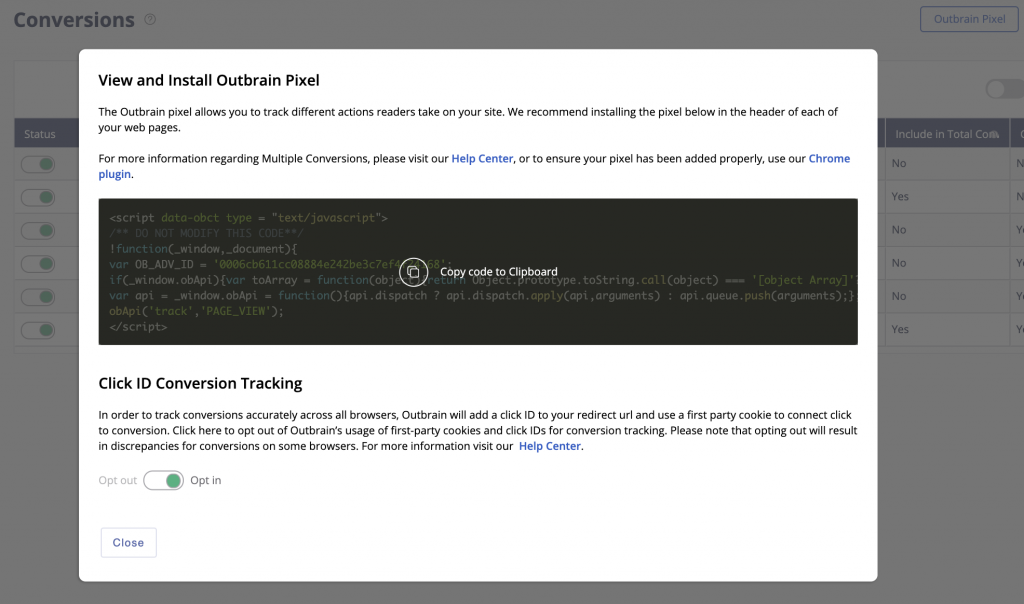
Once you have done this, test the pixel’s functionality using our Outbrain pixel tracker browser extension.
Important to Note
The Outbrain pixel can be used to track URL-based and event-based conversions. Check out this Help Center article to learn more about each type and how to create them in your Amplify dashboard.
Once you start getting conversions, you can view them in your campaign reporting . You can also track view-through conversions.
Want to setup server to server integration or track mobile app installs? Check out our server-to-server setup guide, or the mobile app tracking implementation guide.
Be sure to utilize our Shopify and Google Tag Manager implementation guides if these are relevant for you.